Create a Connect pipe
Goal: receive messages from an external system, deliver them to a destination, and prove it worked. You build the pipe in Tiet · Connect → Network → Pipes, with no workflow involved.
Use a Connect pipe when you want a plain transport: listen, optionally transform, deliver. If you want to decide what happens to each message with workflow nodes, use the workflow route instead: Recipe: ADT to FHIR.
You will need: permission to see and change Connect channels, a Connect server in standalone mode (the default), a target to deliver to, and a way to send a test message. This page uses two examples:
- HL7 over MLLP in, HTTP out. The common hospital case.
- Kafka in, file out. A second source and destination type.
For background on modes, health and connectors, see Tiet · Connect.
Example 1: HL7 over MLLP to an HTTP endpoint
Open the builder
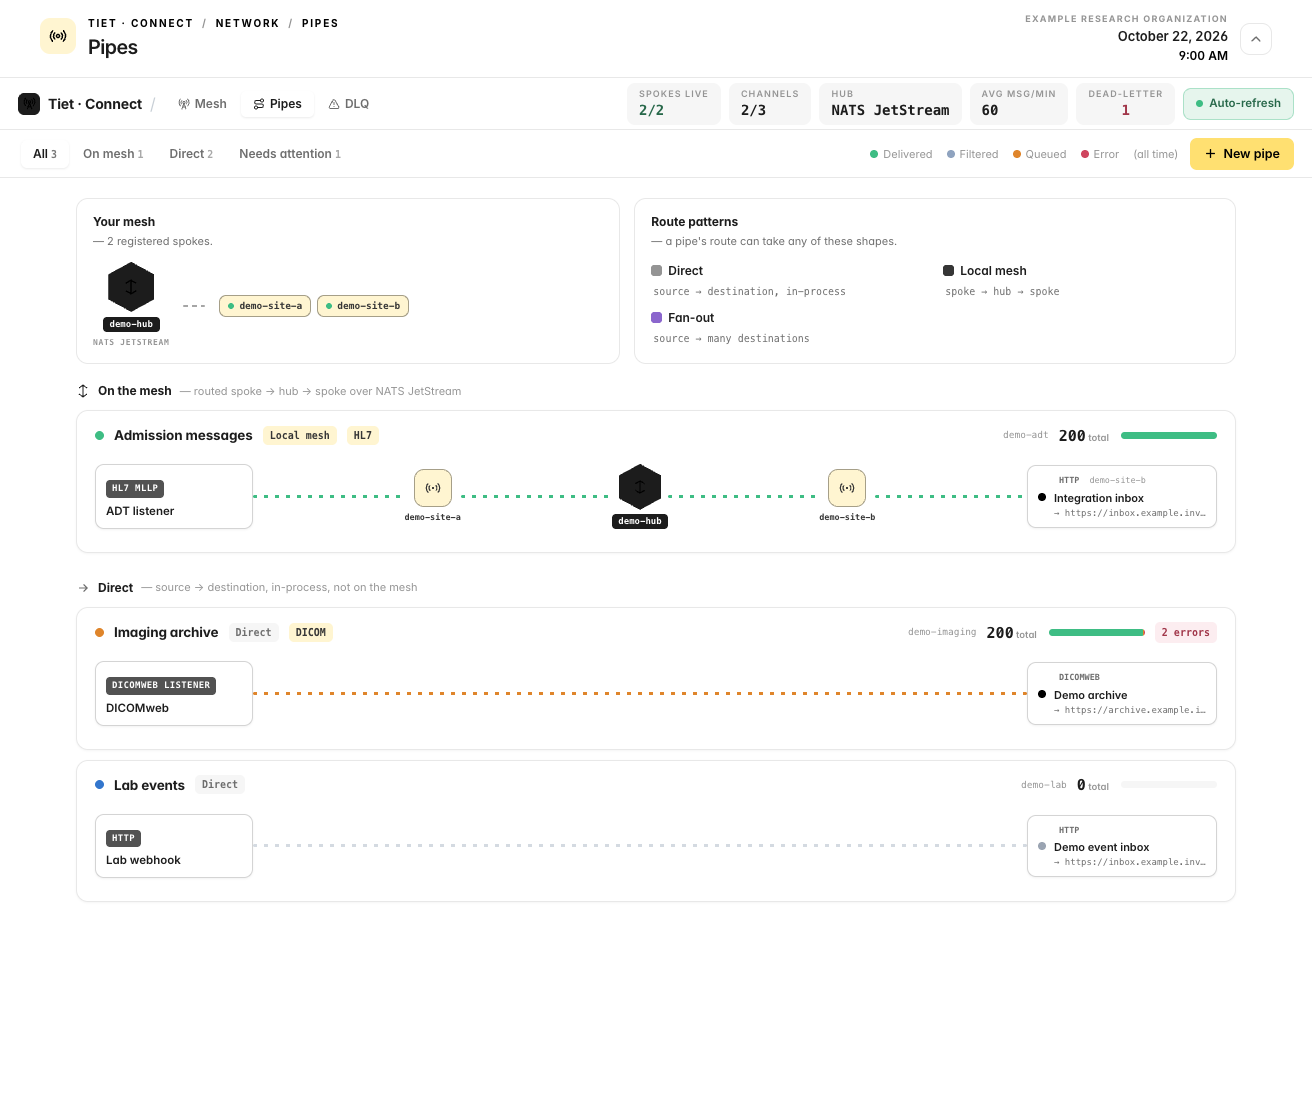
- In the left navigation choose Tiet · Connect → Network, then open Pipes.
- Click New pipe. The builder opens with six steps on the left: Basics, Source, Processing, Destinations, Routing, Review. A completion meter shows "n / 5 sections ready".
Step 1: Basics
| Field | Example | Notes |
|---|---|---|
| Channel name | Demo ADT to webhook | Required. Unique within your organization. |
| Description | Synthetic ADT messages to a test webhook | Optional. |
| Tags | hl7, demo | Comma-separated. |
| Enable on create | on | Default on. |
Step 2: Source
Choose Type TCP (MLLP/HL7) (group Network). The fields:
| Field | Example | Notes |
|---|---|---|
| Bind Host | 0.0.0.0 | |
| Port | 2575 | Required. |
| Framing | MLLP | Choose MLLP. Raw TCP is a different, non-HL7 listener. |
| Delimiter | leave empty | Raw TCP only. |
Step 3: Processing
Leave the list empty. The page shows "No processors yet — messages pass through untransformed." This example forwards the HL7 text as it arrives.
The step offers eleven buttons under Add a transformer or processor: Pipeline, Anonymizer, Filter, Tag Transformer, AI Inference, JavaScript, HL7 to FHIR, FHIR to HL7, XPath, JSONPath and Regex. Each one you add becomes a numbered card under Pipeline order with an enable switch, a configuration form (or a JSON box when the type has no known form), and an On error list (Stop on error, Skip on error, Fallback on error). Processors run top to bottom. Pipeline asks you to select a deployed workflow. Before you rely on any of these, read HL7 to FHIR: what you need to know: the builder saves the cards, but the engine only runs some of them.
Step 4: Destinations
Click the Type list of Destination 1 and choose HTTP / HTTPS. The fields:
| Field | Example | Notes |
|---|---|---|
| URL | https://webhook.example.org/hl7 | Required. Use a test receiver you control. |
| Method | POST | POST, PUT, PATCH or GET. |
| Content-Type | text/plain | The default is application/json. HL7 v2 is not JSON, so set it. |
| Timeout (ms) | 30000 | |
| Auth Type | none | basic, bearer or api_key need the matching fields (Username and Password, Bearer Token, API Key Header and API Key Value). |
| Idempotency Key / Idempotency Header | empty | Optional. Sends a header (for example Idempotency-Key) so a receiver can drop duplicate redeliveries. With a header and no key, Connect uses a hash of the payload. |
Add destination adds more destinations. Every destination receives each message.
Step 5: Routing
Delivery route has two choices:
- Direct (source → dest): processed on this Connect instance. Choose this for the example.
- On mesh (spoke → hub → spoke): pick a Source spoke and a Destination spoke. Without registered spokes the page says "No spokes are registered yet. Register a spoke in the Mesh view to route this channel across the mesh."
The Connect API does not store spoke choices sent from the channel form. The server drops source_spoke_id and destination_spoke_id from create and update requests, because only the hub route endpoint (mesh token) may set them. Picking spokes in the builder therefore may not change the route. After you save, check the route in the pipe inspector or the Mesh view before relying on it.
Processing settings:
| Field | Default | Meaning |
|---|---|---|
| Max threads | 1 | Parallel workers for the channel. |
| Queue buffer size | 1000 | Size of the channel queue. When it stays full, the message is dropped and marked Error with Queue full. |
| Preserve per-key order | off | Beta. Keeps messages with the same key (HL7 PID-3, FHIR subject) in arrival order across threads. Turning it on reveals Ordering key source; leave it empty to derive the key from the message. |
With Max threads above 1 and Preserve per-key order off, two messages for the same patient can be applied out of order. For ADT traffic keep Max threads at 1, or turn ordering on and test it.
The step also lists toggles (Store messages, Encrypt data, Export data, Remove content on complete), an Advanced group with Message storage mode, Clear global channel map on redeploy and FHIR batching (see below), and four script boxes (Preprocessing script, Postprocessing script, Deploy script, Undeploy script). Leave them at their defaults for this example.
Step 6: Review
The review lists Channel, Source, Processing ("Passthrough" when empty), Destinations and Route, each with a button to jump back. If something is missing, a message says what: "Add a channel name to continue.", "Choose a source connector." or "Add at least one destination."
Click Create channel. The toast reads "Channel created".
Deploy the pipe
The new pipe appears in Pipes with the health label Ready: it exists but is not listening yet. Click the pipe, then Resume in the inspector footer. The label changes to Deployed.
The Review step says the channel "will be added and deployed to the mesh". In practice Create channel only creates it. Deploy it with Resume.
Send a test message
Use the simulation CLI from tietai-simulation-service. It sends synthetic patients only.
sim-cli hl7 send --host <connect-host> --port 2575 --type ADT^A01 --count 1 --verbose
Options verified in app/cli/main.py: -H/--host (default localhost), -p/--port, -t/--type (ADT^A01, ADT^A03, ADT^A04, ADT^A08, ORU^R01, ORM^O01), -n/--count, -r/--rate, -f/--file (your own file; - is stdin), -v/--verbose, --timeout (seconds, default 10) and --no-ack. The command sends the message over MLLP and checks the acknowledgement: AA or CA counts as success.
The MLLP listener sends its AA acknowledgement as soon as the message is accepted into the channel queue. It does not wait for delivery to the destination. An AA from Connect does not prove the destination received it. Check the pipe's messages, as below.
Check the result
- Click the pipe, then Messages. A drawer opens with the tabs In channel and Dead-letter, each with a count.
- On In channel, the status filters are All, Sent, Buffered, Queued and Error. The search box takes a message ID or a patient name. The list refreshes every 20 seconds.
- Select your message. The detail pane shows the status, Route, Errors (if any), Headers and Payload (tabs per representation such as Raw, Transformed, Processed, Response).
What you should see: one message with the status Sent, and the same HL7 text arriving at your webhook.
| Status | Meaning |
|---|---|
| Received | Stored on arrival. |
| Sent | Every destination accepted it. |
| Buffered | Destinations accepted it but at least one has not durably stored it. It becomes Sent when the destination confirms. Not the same as Sent. |
| Queued | Handed to the FHIR batcher (see FHIR batching below) and waiting for the FHIR server's answer. It becomes Sent or Error. |
| Error | All destinations failed, the queue was full, or the FHIR server rejected a batch. |
If one destination of several fails, the message still shows Sent (or Buffered) and the Errors list reads "Partial success: ...". Look there when a destination seems to be missing data. The pipe inspector's Recent messages list shows the last six.
Handle failures
A failed delivery leaves the message in status Error. To see all of them, open the Dead-letter tab of the drawer (this pipe) or Tiet · Connect → Network → DLQ (all pipes).
- Standalone mode: the dead-letter view is read-only. It says "Read-only: this Connect runs in standalone mode, which cannot replay or discard dead letters." Fix the cause, then send the message again from the source. On the In channel tab, Discard (then Delete) removes the record of a message.
- Hub mode: select a dead letter and choose Replay, or Discard with a reason. Replay page retries every dead letter on the page. In the DLQ console you can also select several, and Expire old ages out old resolved or discarded records.
Common failures:
| What you see | Cause and fix |
|---|---|
| Pipe stays Ready | It was created but not deployed. Click Resume. |
| Sender cannot connect | Pipe is Ready or Paused, or port 2575 is not reachable. Resume the pipe and check the network path. |
Message Error, text starts HTTP request failed with status | The destination answered with a non-2xx status. The text includes the response body. Fix the URL, credentials or content type. |
Message Error, text HTTP request failed: | The destination could not be reached (DNS, TLS, timeout). |
Message Error, text starts FHIR server rejected the transaction or BATCH_TIMEOUT | FHIR batching: the server refused the batch, or did not answer. Read the issue codes in the text and check the bearer token property. |
Message Error, text Queue full | See Queue buffer size and Max threads. |
Message Error, text All destinations failed: ... | The prefix of the error. The names after it say which destination failed. |
| Pipe label Errors recorded or High error share | Counters are cumulative since creation. Open Messages → Error. |
Example 2: Kafka to a file
This shows a second source and destination and needs no HTTP receiver.
- Basics: name
Demo Kafka to file. - Source: Type
Apache Kafka. Fields: Brokers (required, comma-separated, for examplekafka.example.org:9092), Topic (required,sim.inbound), Consumer Group (tietai-connect). - Processing: empty.
- Destinations: Type
File System. Fields: Directory (required,/data/outgoing), Filename Pattern (msg_${timestamp}.txt), Append (off), Create Dirs (on), File Mode (0644). The directory is on the Connect server. - Routing: Direct. Review → Create channel, then Resume.
- Send a test record:
sim-cli kafka send --bootstrap kafka.example.org:9092 --topic sim.inbound --format hl7v2 --count 3
--format is hl7v2, fhir, raw or auto; --key sets the record key (default: the patient MRN). Open Messages → In channel: three messages, and three files in /data/outgoing.
HL7 to FHIR: what you need to know
The builder has an HL7 to FHIR entry in the Processing step, and a FHIR REST destination type. Here is what the Connect code does, checked in channel_engine.go, internal/transformers/transformer.go, internal/connectors/http.go and fhir_batcher.go.
1. The processor entry. The builder lets you add an HL7 to FHIR card, and it saves it in the channel's processor list, but the engine does not run it. The engine's processor chain (initProcessorChain, processors.NewDefaultRegistry) knows only four DICOM processors: filter, anonymizer, tag-transformer and ai-inference, and it applies them only to DICOM JSON content. Any other processor type (including hl7_to_fhir, fhir_to_hl7, javascript, xpath, jsonpath, regex) makes the chain fail to build, and Connect logs "Failed to build processor chain" on the server and skips the whole chain, including the DICOM processors in the same list. The builder also saves tag_transformer and ai_inference with underscores, which the registry does not recognise either. Only Pipeline (hydra_pipeline) runs on its own path, and only when the Connect server has HYDRA_API_URL set and CONNECT_AGENTIC_PROCESSORS_ENABLED is not false. The engine runs the HL7 to FHIR conversion only when the channel property transform_to_fhir is true (the Connect-seeded HL7 channel sets it). The builder has no field for that property. If you need conversion on a channel, set the property through the channel API, or use the workflow route in Recipe: ADT to FHIR. For ORU^R01 lab results, the property transformer_type set to HL7_ORU_TO_FHIR (with transformer_options) selects an order-aware mapping that produces a transaction Bundle and fails the message instead of forwarding raw HL7. Test with a synthetic message and read the Payload tab before you rely on any conversion.
2. The Bundle type. With the default HL7_TO_FHIR conversion, the Bundle it produces has type: "collection", with entries that have fullUrl but no request. That is not a transaction Bundle.
3. The FHIR REST destination. FHIR REST is the HTTP connector under another name (fhir_rest maps to HTTP). It posts the message body, unchanged, to the FHIR Server URL with the Method you chose (POST or PUT), and with Content-Type: application/fhir+json unless you override it. It does not convert a collection Bundle into a transaction. A FHIR server that expects a transaction or batch at its base URL will reject a collection Bundle, and the message shows Error with HTTP request failed with status ... and the server's text.
4. FHIR batching. In Step 5 turn on FHIR batching and set FHIR server URL (batching does nothing without it). Fields: Batch size, Batch timeout (s), Max concurrent batches, FHIR server URL. When the engine's data type is FHIR, resources are collected and posted as a transaction Bundle to that URL. A bare resource or a collection Bundle entry becomes a POST entry for its resource type; a transaction Bundle whose entries already carry request is queued entry for entry unchanged. Leaving a size field empty uses the engine defaults: 25 resources, 5 seconds, 20 concurrent batches. The batcher bypasses the destination connectors:
- the message shows Queued until the FHIR server answers. A 2xx answer makes it Sent. A rejection or transport failure makes it Error, with text such as "FHIR server rejected the transaction (HTTP 400): ...". If no answer arrives in time, Connect marks it Error with
BATCH_TIMEOUT(batch timeout plus about a minute) and the message can be reprocessed; - authentication is not a builder field. The batcher sends
Authorization: Bearer ...only when the channel propertyfhir_bearer_token_env(the name of an environment variable on the Connect server) orfhir_bearer_tokenis set. Without one, Connect logs a warning and sends the transaction with no authentication header. It always sendsX-Organization-ID,Content-TypeandAccept: application/fhir+json.
Set the token property through the channel API before you point batching at a FHIR server that needs a token.
If you need a verified HL7 to FHIR route today, build it as a workflow with the hl7-to-fhir and fhir-crud nodes. That route posts a transaction Bundle. See Recipe: ADT to FHIR.
Change or remove a pipe
- Edit in the pipe inspector opens a side panel for name, route, destinations and transformations. Full editor opens the same six steps with the saved values; the save button reads Save changes.
- Pause undeploys. Nothing listens until you Resume.
What to do next
- Tiet · Connect: modes, health, connectors and limits.
- Recipe: ADT to FHIR: the workflow route for the same input.
Something unclear? Send documentation feedback by email.